Mini Monstera Care: Watering, Light and Climbing Support
A practical routine for Rhaphidophora tetrasperma, with fewer guesses and more useful checks.
Quick questions
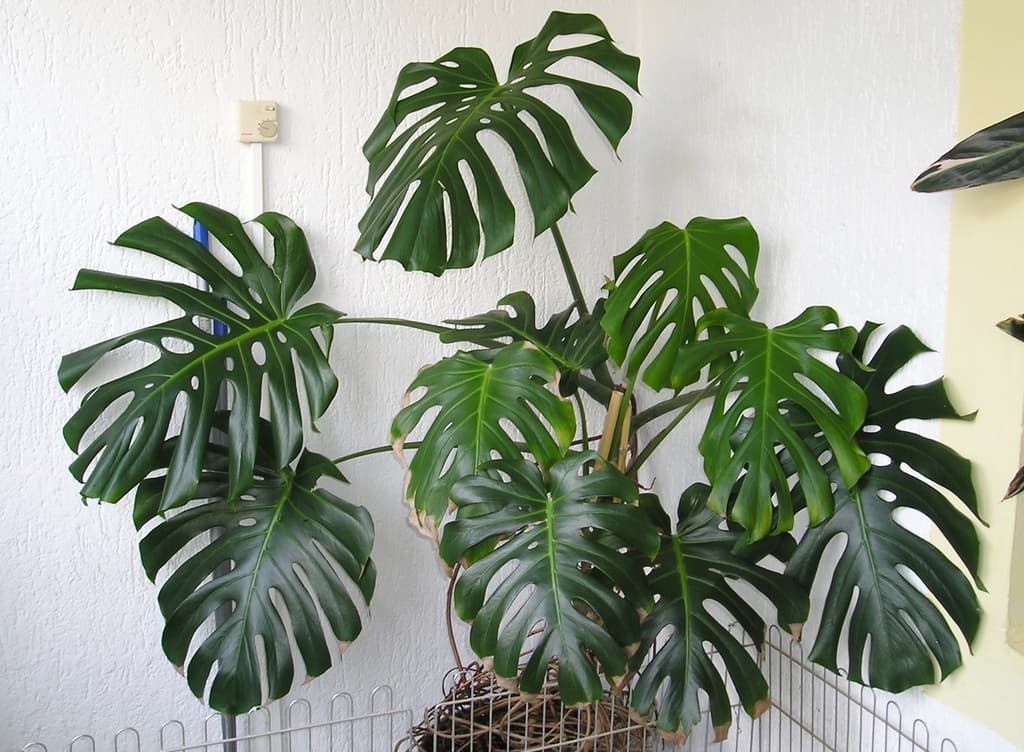
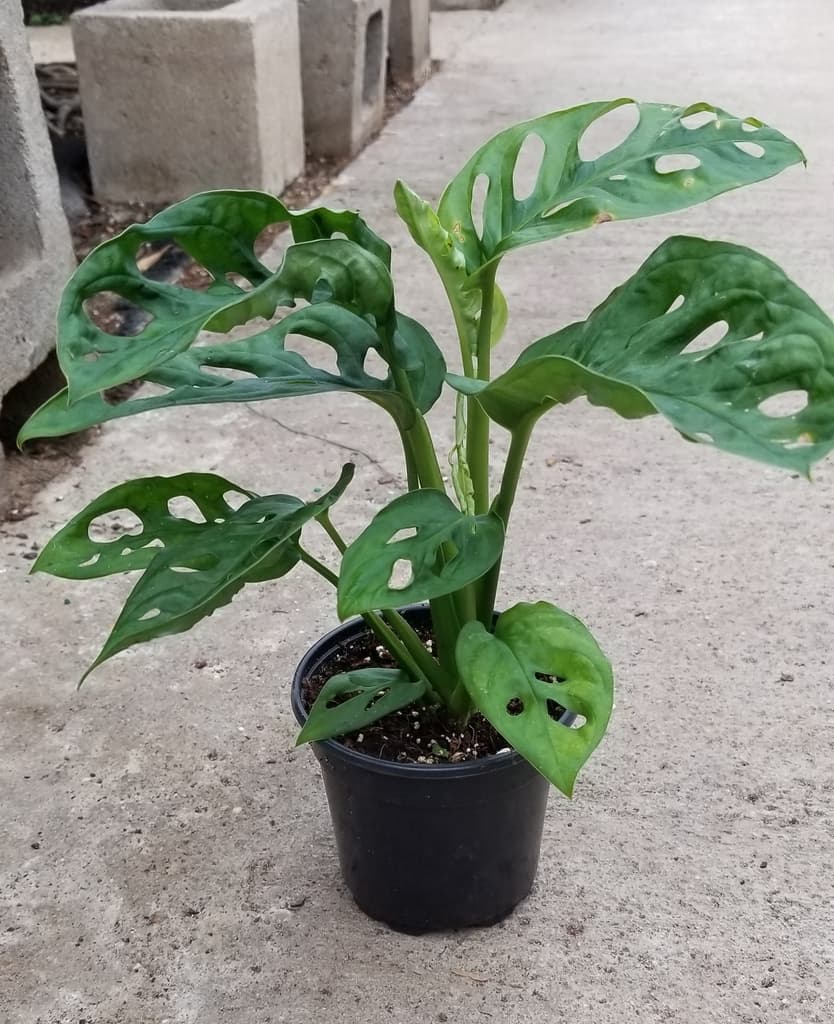
Is Mini Monstera actually a Monstera?
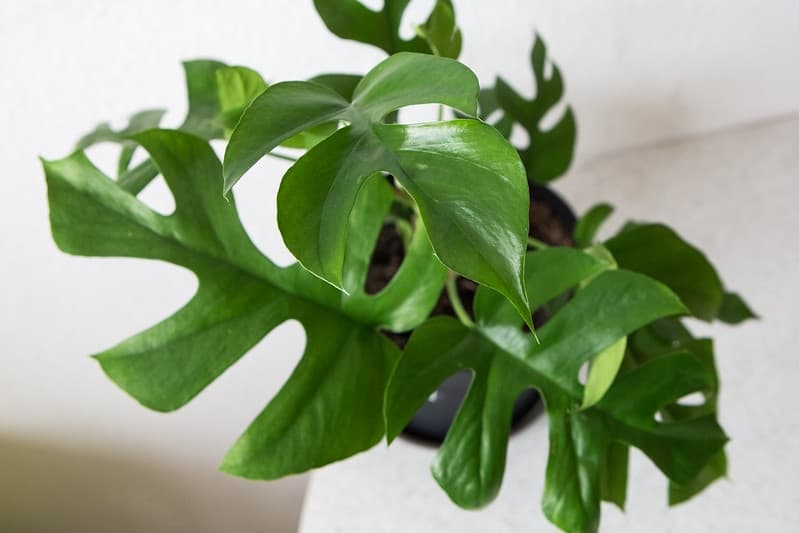
No. It is Rhaphidophora tetrasperma. The similar-looking leaves explain the nickname, but it belongs to a different genus.
How often should I water it?
Check the top 2.5cm (1 inch) of mix rather than counting days. Water when that layer is dry, then let excess water drain away.
Why are some leaves not split?
Leaf shape can vary. Check the overall growth and light before changing care; one unsplit leaf does not prove the plant is unhealthy. Adding a pole is not a guarantee of a particular leaf shape.
Does it have to climb a moss pole?
No. A trellis or other suitable support can work too. Choose something stable that fits the space and lets you guide the vine without damaging it.
Is Mini Monstera safe for pets and children?
Keep it out of reach. Calcium oxalate crystals can irritate the mouth if chewed, and sap may irritate skin. Seek veterinary or poison-service advice after suspected ingestion; breathing difficulty needs urgent help.
How fast will it grow?
It can grow vigorously, but light, roots and conditions affect the result. There is no dependable metres-per-year promise for your home.
Should I repot every year?
Inspect the roots and mix first. Crowding or poor drainage is more useful evidence than the age of the pot. Avoid putting a small root ball in a much larger container.
Mini Monstera is Rhaphidophora tetrasperma, a climbing plant rather than a miniature Monstera deliciosa. Give it bright, indirect light, a draining pot and something to climb. Then let the potting mix guide your watering.
Find the right light
Choose a bright spot out of harsh direct sun. A west-facing window may need a sheer curtain; a dim corner may need a grow light. Distance from the glass, buildings and curtains matter more than the compass direction alone.
Watch the new growth. Long gaps between leaves and weak, stretching stems are reasons to reassess light. Move the plant gradually and check for pale or scorched patches on exposed leaves.
Check the mix before watering
Feel the top 2.5cm (1 inch) of potting mix. When it is dry, water thoroughly and let the excess drain. Aim for moisture below the surface without leaving the roots sitting in water; do not wait for the whole pot to become bone-dry.
Lift the pot as another check. A small pot in a warm, bright room can dry sooner than a large pot in a cool room. Recheck after repotting, moving the plant or a seasonal change. An 8-12 day schedule cannot account for all those differences.
Empty the saucer or decorative outer pot after watering. If the plant droops while the mix is still wet, investigate drainage and root health before adding more water. A reminder should prompt a check, not an automatic drink.
Choose a pot and mix that drain
Use a houseplant mix that holds some moisture while allowing air and excess water to pass through. Avoid dense garden soil. Keep the plant in an inner pot with drainage holes if its decorative pot has none.
Inspect the root ball when roots become crowded or watering becomes difficult. Move up only a little in pot size when more room is needed. A bigger pot is not automatically an upgrade: extra mix around a small root system can stay wet for too long.
Refresh mix that has become compacted or drains poorly. Do not add a layer of gravel as a substitute for drainage holes, and do not replace all the soil just because a calendar says it is time.
Support, warmth and humidity
A trellis, totem or moss pole gives this vine support. Its aerial roots help it attach as it climbs. Position the support securely; avoid forcing stiff stems into a new shape.
Keep it in a warm room, away from cold draughts and direct heater airflow. Higher humidity suits this plant, but check watering and root conditions too if leaf edges turn brown.
If your room is very dry, measure humidity before buying equipment. A humidifier can raise it more consistently than occasional misting. Maintain airflow and avoid leaving foliage continually wet.
Feed while it is growing
Use a houseplant fertilizer at the label rate during active growth. Reduce feeding when growth slows, and check whether fresh potting mix already contains fertilizer before adding more.
Fertilizer cannot replace adequate light. Heavy feeding can leave salts in the mix and damage roots, so investigate a struggling plant before trying to feed it back to health.
Take a cutting with a node
Wear gloves and use clean scissors. Choose a healthy stem section with leaves and a node, the joint where a leaf attaches. Cut below that joint and remove any lower leaf that would be buried.
Place the node in a moist, airy rooting medium, keeping the remaining leaves above it. Give the cutting bright, indirect light and keep the medium moist rather than waterlogged. Once it has established roots, pot it into a suitable small container. Rooting speed varies; a promised number of days is less useful than checking progress.
When leaves change
Start with moisture, drainage and light, then inspect leaf undersides and stems for pests. Yellowing, curling or brown edges are clues rather than a diagnosis on their own. Compare recent care and photos before changing several things at once.
For help checking wet versus dry conditions, see Overwatering vs underwatering. Keep cuttings and fallen leaves away from pets and children.
Spotted something that needs correcting? Send a message.